Armor has become a vital part of Operators’ tool kit in Call of Duty Zombies. Players looking to improve their armor beyond the typical Tier 3 can do so with a new easter egg on The Tomb. Here’s how to get the Gold Armor Vest in Black Ops 6.
Gold Armor is an upgrade Zombies players could first get their hands on in Modern Warfare 3 Zombies. In its MWZ mode, Gold Armor was introduced to combat fans’ frustration with constantly having to re-plate armor after taking damage. Gold Armor seeks to fix this by slowly repairing armor automatically over time. It works the same in Black Ops 6. While players still have the option to manually plate up when using the Gold Armor Vest, armor will repair itself even if the user doesn’t have any armor plates in their inventory. This makes it a vital tool to aid in resource management, as well as ensuring you always have enough armor to prevent going down in one hit by powerful enemies like Amalgams.
Related: Best Feng 82 Loadouts for Black Ops 6 Multiplayer and Zombies
Here’s how to get Gold Armor on The Tomb in Black Ops 6 Zombies:
To begin the Blood Sacrifices necessary to unlock Gold Armor in a match of The Tomb, Zombies players will need to head to find two statue heads. These are used to repair ruined Roman statues in the Dig Site area of the map.
The two statue heads players need to find are located within the Dark Aether Nexus. They spawn in wooden boxes. The boxes will need to be destroyed by melee to reveal the statue heads. Once a box is destroyed and the statue head is exposed, simply hold the interact button to pick up the statue head.
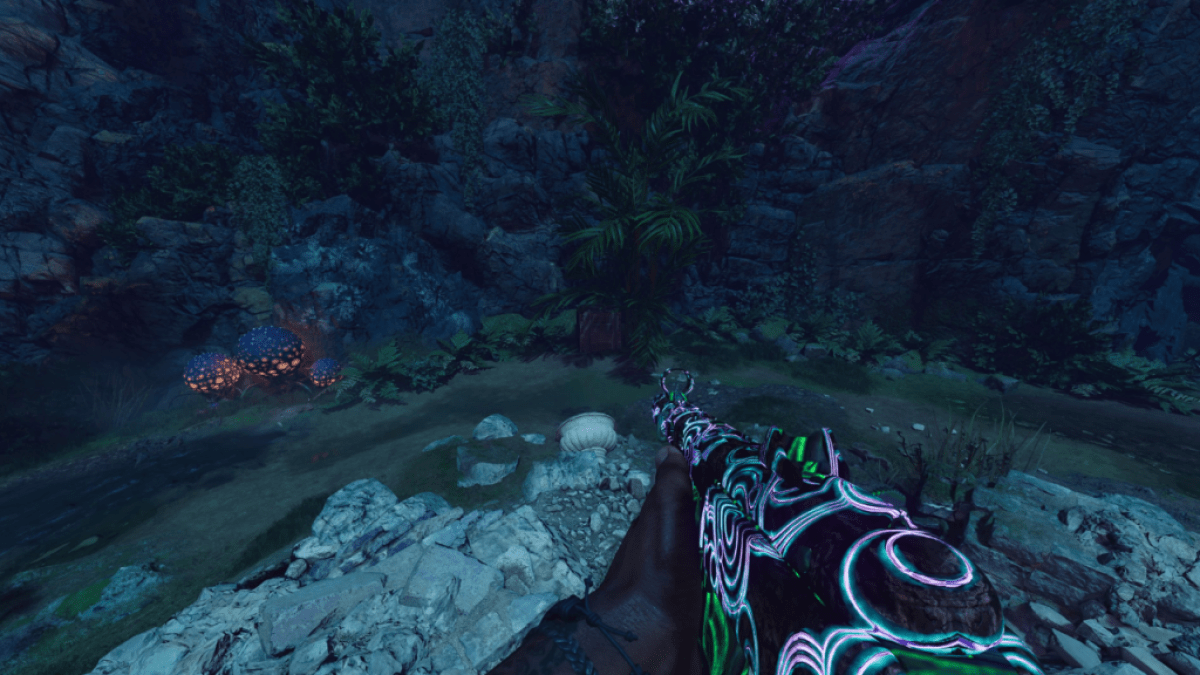
The first location is pictured above. The box is located next to a palm tree, tucked away in the corner of The Dark Aether Nexus closest to the green Gateway portal. The second location is far easier to spot. This is located mere feet away from the Juggernog Perk Machine within the Dark Aether Nexus. The box is in a corner of the same raised platform Juggernog rests upon.
Once both statue heads are acquired, head back to the Dig Site area near The Tomb’s initial spawn point. There are two Roman Statues in this area. One is located near the Ammo Cache, by the door heading out of spawn towards the Neolithic Catacombs portion of the map. Hold to interact while facing the statue, and this will repair it by placing the head atop it
The other Roman Statue ruin is located further up in the Dig Site. It is near the covered area called the Roman Mausoleum, which houses a spawn point for the Pack-a-Punch machine. Head to this statue, and once again hold to interact to place the head you found in the Dark Aether Nexus onto it.
Once you place the head on each statue, walking up to them will have a new UI prompt. This instructs players to begin a Blood Sacrifice. This is an extremely difficult challenge, so here’s what you need to know to be prepared.
The Blood Sacrifice will spawn at least three powerful HVT versions of two of the special enemy types in Black Ops 6 Zombies: Shock Mimics and Doppelghasts. Three will spawn in solo matches, but more will spawn depending on how many players are in a co-op match. The Blood Sacrifice locks players at 1 HP until the HVTs are killed. However, all damage will go to your armor plates, so it’s important to grab a Tier 3 vest and several armor plates before starting the Blood Sacrifice.
Activating the Blood Sacrifice also will not despawn the enemies that are already on the map, so doing this at the end of the round is best. What makes this challenge so difficult is that not only are players low on health, but they are also unable to heal or use overpowered support like Chopper Gunners and Mutant Injections once the challenge starts. However, there are a few ways to exploit the challenge, making it far easier to complete.
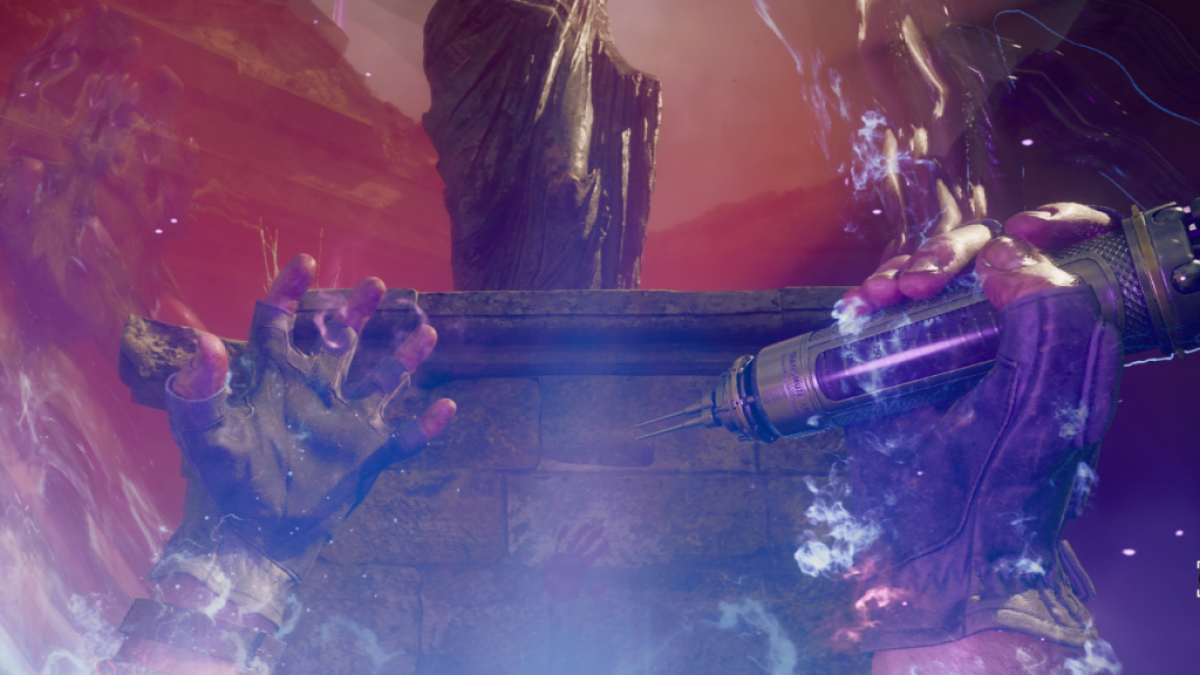
For solo players, the best option is to grab a Mutant Injection. This will allow them to become a powerful Mangler who can take no damage. When they go to hold interact to start the Blood Sacrifices, spam the input they have set to activate the Mutant Injection. If they time this right, they will turn into a Mangler right as the challenge starts. If they do this successfully, simply let the HVTs that spawn surround you in a tight half-circle, and melee them until they’re all dead.
In co-op matches, this can be done even easier. Not every player needs to be within the Dig Site to activate the challenge. Have one player activate it from within the Dig Site, but keep at least one player outside of the area with a Chopper Gunner in their inventory. Have the player with the Chopper Gunner call it in as the Blood Sacrifice starts, and have the player within the Dig Site train the HVTs so they are clearly visible from the sky and be killed from the Chopper Gunner.
Once both Blood Sacrifices have been completed, the Gold Armor Vest will be available as a free Wall Buy within the Roman Mausoleum.
And that’s how to get the Gold Armor on The Tomb in Black Ops 6 Zombies.
Call of Duty: Black Ops 6isavailable now on PlayStation, Xbox, and PC.