Whether you’re a beginner or an expert, having an easy-to-access list of all styles and all moves is incredibly useful for analyzing strategies. Also, I’ll be rating all styles in a tier list format so that you can see which are the best. Here’s my complete Azure Latch Styles tier list and all styles and moves listed.
Unlike other Roblox sports games, every Azure Latch Style is powerful if you use it right. They each have their own strengths and weaknesses so I had to rate them based on how OP and flexible the moves are (You can find all moves below). S-Tier has the most OP moves, A-Tier requires a specific playstyle and practice to be S and B-Tier styles are great but just lack that extra punch for higher-tiers. Currently, there’s no C-Tier style in the game. Let’s dive into the ranking rasons.
| S-Tier | Ranking Explanations |
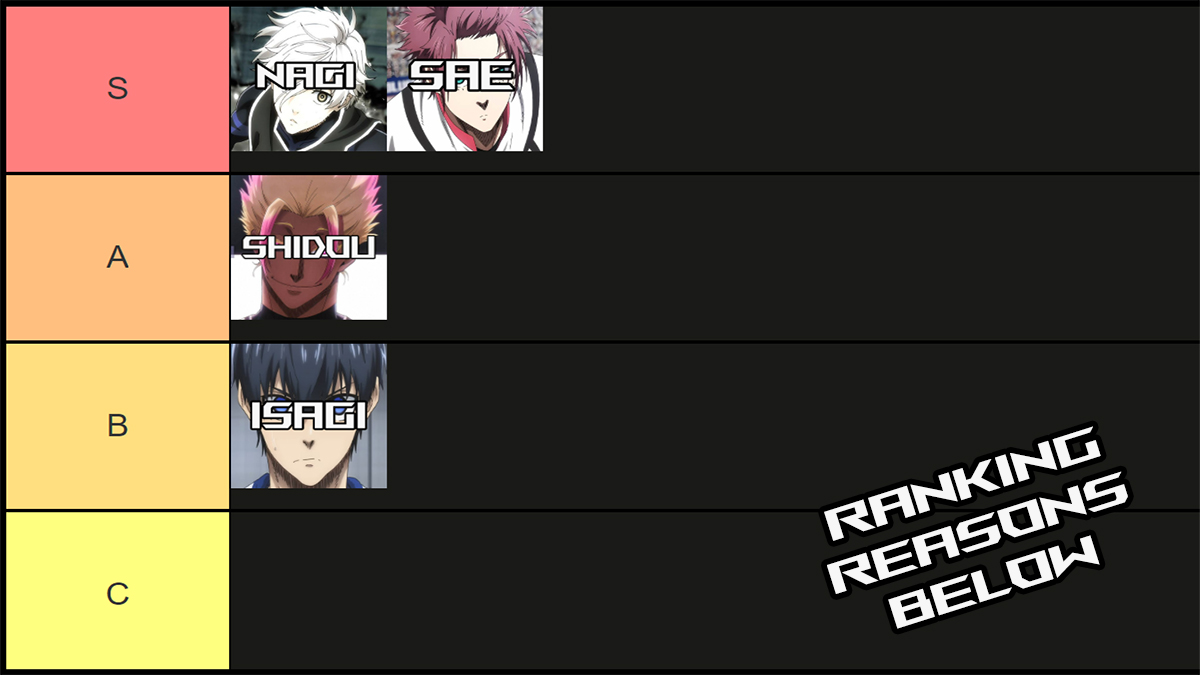
 Nagi (22.2% Roll Chance) | Nagi has both some of the most powerful shooting abilities with Heavy and his Awaken as well as excellent utility moves with Fake and Control. He’s in S-Tier because he has the perfect combination of dribbling and shooting power. |
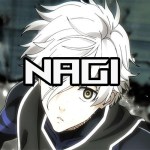
 Sae (3.7% Roll Chance) | While Sae’s offence without his Awaken isn’t as powerful as Nagi, Sae has the most moves and the best defensive and support abilities in the game. You’ll easily get past opponenets with Magic Turn and his Awaken while Countering steals and passing the ball with Magic Pass. Also, his Curved Shot takes some practice but it’s really hard to block. |
| A-Tier | Ranking Explanations |
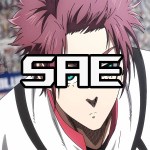
 Shidou (22.2% Roll Chance) | Shidou like Sae takes some practice and getting used to since you have to play really aggressively for him to reach his true potential. Once you master Dragon Header, you’ll be an unstoppable force along with Back Heel Shots and his Awakens. Shidou is probably the best offensive style in the game. |
| B-Tier | Ranking Explanations |
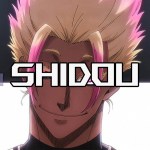
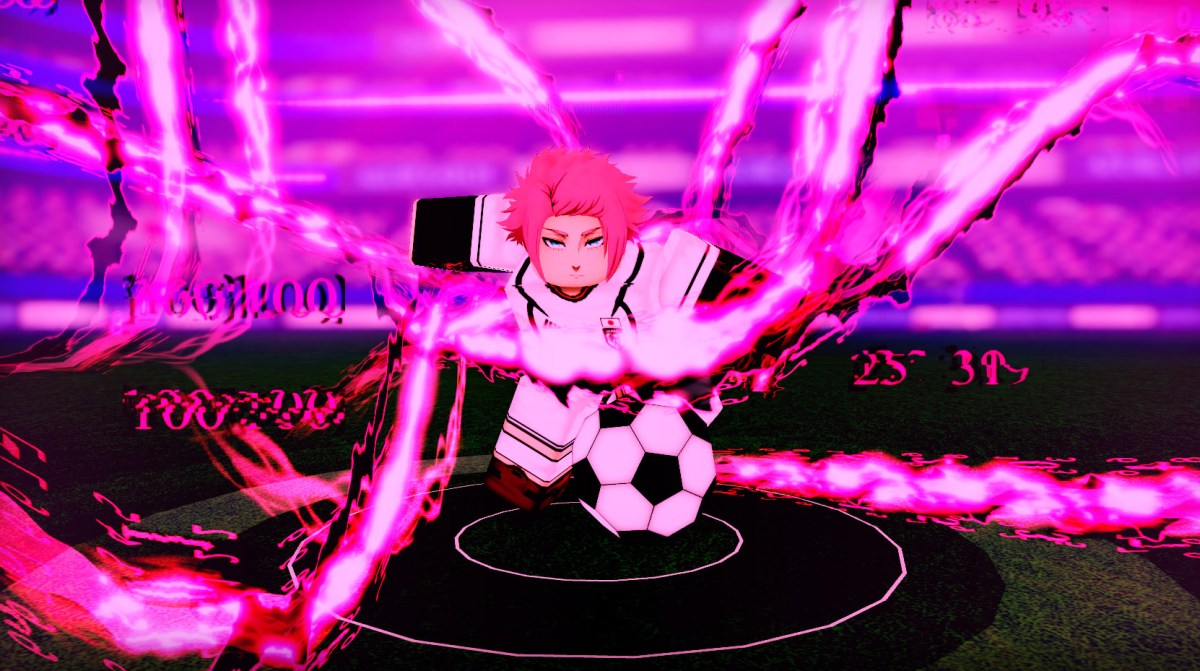
 Isagi (74.1%) | Even though Isagi is in B-Tier, he isn’t weak. His Direct Shot and MY DIRECT SHOT moves have some of the best range and power in the game. It’s just that his support abilities aren’t as overpowered as Sae where he instantly bypasses opponents and Isagi doesn’t have as much offensive potential as Shidou. That said, he’s a great balance and Two Gun Volley is incredibly hard to block. |
Here’s a complete list of all Azure Latch Styles for every character. This includes all base moves and all Awakening moves for each character. Note that rolling styles drops them in your Styles storage so that you can switch out different Styles for each game and test them out. Stay tuned for our Azure Latch tier list for the best one. Here are all styles and then let’s dive into each one in more detail:
Isagi Moves (74.1%) | Move Description |
| Direct Shot (Ball Only) | A basic but high-power straight-line shot with excellent range. |
| Naruhaya Footwork | Briefly take a fadeaway step back and then surge forward in a massive dash. |
| MY DIRECT SHOT (Awakening 1) | A massively enhanced version of the Direct Shot with over half-field range. |
| Two Gun Volley (Awakening 2) | Perform an incredibly difficult to block shot with shorter range than Direct Shot. |
Nagi Moves (22.2%) | Move Description |
| Fake Volley | Perform a fake shot to bait out the goalkeeper or other opponents. |
| Control (Near Ball) | Perform near the ball to catch the ball with a cutscene. In Awakening, you can perform it on the right side of the enemy goal to catch the ball and shoot from an angle that’s difficult to block. |
| Heavy (Ball Only) | An incredibly powerful curving shot that starts with a fake-out leg kick. |
| Nice to meet you, Japan (Awakening) | Another powerful shot with massive range that’s hard to block. |
Shidou Moves (22.2%) | Move Description |
| Dragon Header | Jump forward and headbutt the ball while airborne to shoot it straight forward. Tricky to block when close to the goal. |
| Back Heel Shot | A straight-shot similar to Isagi’s Direct Shot but with less power and range. |
| Big Bang Drive (Awakening 1) | Perform a backwards scissor kick that can score a goal from half field. |
| Dragon Drive (Awakening 2) | An enhanced version of the Back Hell Shot but with greater power and range. Again, very similar to Isagi’s Direct Shot and MY DIRECT SHOT. |
Sae Moves (22.2%) | Move Description |
| Magic Turn (Ball Only) | Bypass an opponent instantly with a curved dash forward. |
| Nutmeg (Counter) | A Counter to an enemy steal that leaves them stunned. |
| Curve Shot (Ball) | An aimable curved shot with medium power but it’s hard to block. |
| Magic Pass (Pass) | An automatic curved long-range pass. |
| You’ll Never Surpass Me (Awakening) | An empowered version of Magic Turn where you bypass an opponenet next to you, dribble behind them, and make a powerful shot that can be from up to half field. |
That’s it for my Azure Latch styles tier list and list of all moves. Check out our Azure Latch codes for free goodies in the game and stay tuned for more guides.